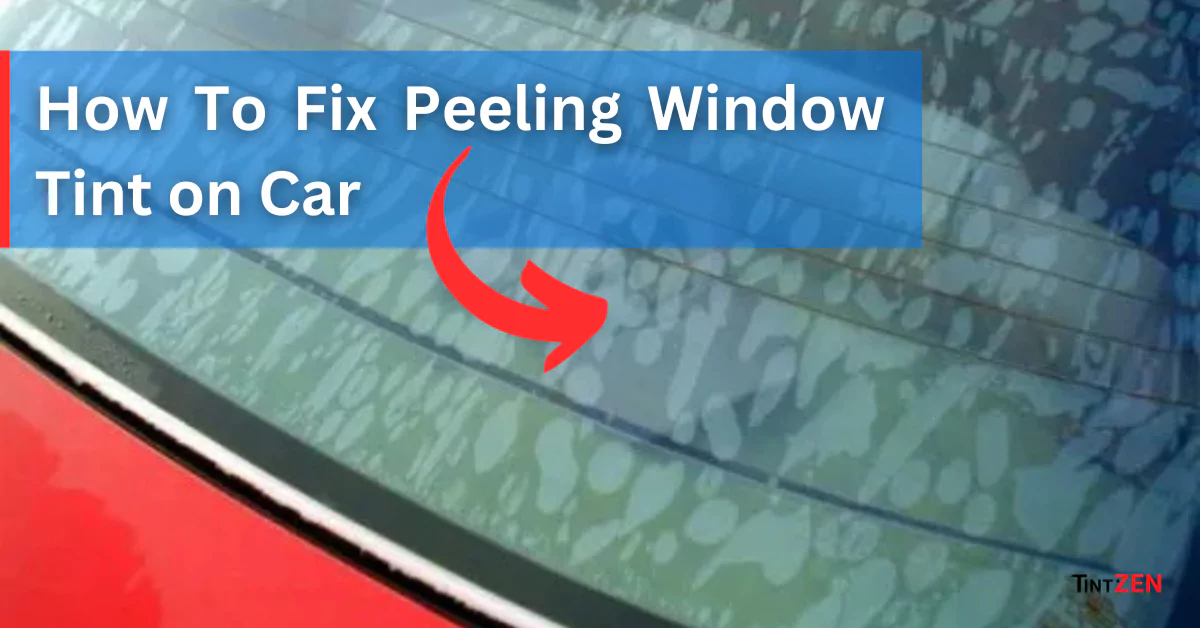
Is your window tint peeling or forming bubbles? This common problem can lead to a disturbance in your car’s look and function. Peeling often occurs due to poor installation, UV rays, or low-quality materials. But don’t worry! You can fix it without breaking the bank.
Start by ensuring the adhesive is intact and pulled away from the glass. With a little time and effort, you can repair your tint and regain that sleek, aesthetic look while maintaining privacy and protection from sunlight. Let’s dive into how to tackle this issue effectively!
Why Window Tint Peels?
Have you ever run your fingers along your tinted window only to find tiny pieces of the tint coming off? This issue is known as window tint peeling. When this happens, the tint becomes less effective at blocking out direct sunlight, reducing heat inside your car, and providing the privacy you need.

So, what causes window tint to peel? Here are some of the main reasons:
1. Poor Installation
One of the biggest factors is improper application. If the technician doesn’t clean the glass well before applying the tint, it increases the chances of peeling.
2. Low-Quality Tint Film
Using a low-quality and low cost window tint film can lead to quick peeling because it often has weak adhesive.
3. Extended Exposure to UV Rays
Constant exposure to UV rays, heat, and humidity can soften the adhesive over time, resulting in peeling.
4. Aging Window Tint
Even the best window tints have a lifespan. After several years, the adhesive can wear out and cause the tint to start peeling.
Now that we understand the causes of auto window tint peeling, let’s explore how to fix it.
Fixing a Peeling or Torn Window Tint
Over time, window tinting can start to peel or tear, making your vehicle look undesirable. Fixing this issue requires patience and the right method to remove the old film and apply a new tinting sheet without causing further damage. Below is a step-by-step repair process to get your tint looking as good as new.
Step 1: Identify the Damaged Area
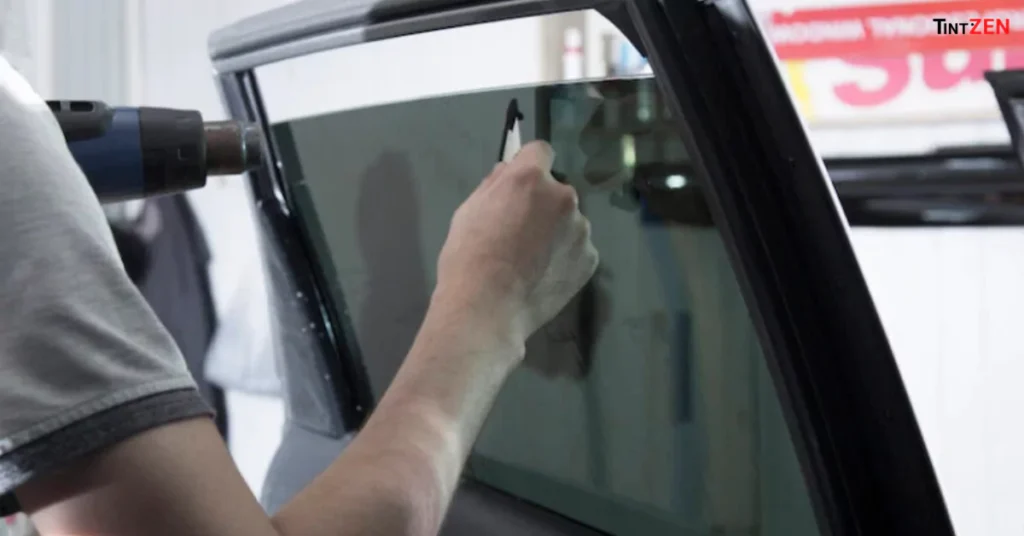
The first step is to carefully determine the affected areas where the tint is peeling. Use a razor blade or another sharp tool to mark a square around the damaged section.

Ensure the mark covers all the peeling paint and any weak spots. Then, lift the cut section gently to avoid further tearing of the undamaged tinting.
Step 2: Cut and Lift the Damaged Tint
With a razor blade, begin to cut along the marked area, making sure to remove any difficult sections remaining on the glass. Lift the corner of the cut-out portion carefully to prevent peeling of the undamaged parts. This step ensures only the problematic areas are taken out while keeping the rest intact.
Step 3: Loosen the Peeling Tint with Water
Spraying distilled water onto the peeling section helps loosen the tint film, making it easier to remove. If there are still some difficult sections, use a razor blade again to take them off.
Step 4: Clean the Glass and Prepare the New Tint Film
Once the old tint is gone, it’s important to clean the window thoroughly. Remove adhesives and any residue left from the previous tinting. After cleaning, cut a new film, ensuring it’s about an inch larger on all sides than the marked square.
This will help with proper alignment during installation.
Step 5: Apply Water and Trim the New Tint
Use a spray bottle to spray water on the window until it’s slightly wet. Next, align the new tint over the cut-out space. Use a razor to cut through both the new and old tint, following the edges of the square. Repeat this process on all sides to ensure a precise fit.
Step 6: Remove Old Tint and Secure the New One
As you begin the installation of the new tint, make sure to press it firmly onto the window while smoothing out any bubbles that form.
At the same time, pull out the sections of the old film that were cut earlier, all while holding the new tint securely in place. When done correctly, the new tint will fit correctly and appear seamless.
Important Precautions to Follow
Since window tinting sheets consist of two layers, ensure your razor penetrates both layers down to the glass. Use a straight-edge device to get rid of any bubbles that may have formed during the process.
Effective Tips to Prevent Window Tint Peeling
To keep your window tint in great shape and avoid peeling, here are some easy and effective tips:
1. Choose Professional Installation
Always seek professional help when getting your tint applied. An expert installer from a trusted tint shop will ensure the job is done right. They use superior-quality materials that help reduce the chances of bubbling or peeling. Plus, a warranty on their work shows they stand behind their service.
2. Invest in Quality Tint Film
Don’t skimp on the window tint film. Cheap, low-grade films often fail quickly and can’t handle heat and environmental challenges. Opt for premium-quality films designed for durability and longevity.
3. Practice Proper Maintenance
Regular maintenance is crucial for your tint’s lifespan. Clean your windows with soapy water and a soft cloth, avoiding ammonia-based cleaners that can harm the tint. After installation, wait a few days before rolling down your windows to let the adhesive cure and bond effectively.
4. Mind the Weather Conditions
The weather can impact the installation of your tint. If it’s applied on a hot day, the adhesive may dry too quickly, resulting in a weak bond. Conversely, if it’s a cold day, the curing process might take longer, potentially causing problems.
5. Conduct Routine Checks
Make it a habit to check your tint regularly. Look for any signs of damage or wear, and address any issues promptly to maintain its quality.
By following these simple steps, you can keep your window tint looking great and functioning well for years to come.
Conclusion
Fixing peeling window tint is easier when you know the right steps. Whether it’s removing bubbles, cutting damaged tint, or applying a new film, patience is key. To avoid future tint peeling, choose high-quality tint, get a professional installation, and follow proper maintenance.
If peeling worsens, replacing the tint may be the best long-term solution.

