Got tinted windows? They’re more than just stylish—they block UV rays, reduce glare, and add privacy. But if you clean them the wrong way, you could end up with scratches or a foggy mess.
Tinted windows aren’t like regular glass they have a delicate film that can get damaged by common cleaners. The good news? Keeping them spotless is easy—with the right products and techniques.
In this guide, I’ll show you a simple, step-by-step way to clean your tinted windows safely—no streaks, no damage, just crystal-clear results. Let’s get started!
What is the Best Way to Clean Tinted Windows?
When Should You Clean Newly Tinted Windows?
After installing tinted windows, wait 30 days before cleaning the interior. This gives the mounting solution time to dry completely, so the tint adheres properly without bubbles or imperfections.
If the weather is cooler or cloudy, drying may take 60 days. During the first few days after installation, avoid rolling down the windows. Following these steps keeps your tinted windows flawless.
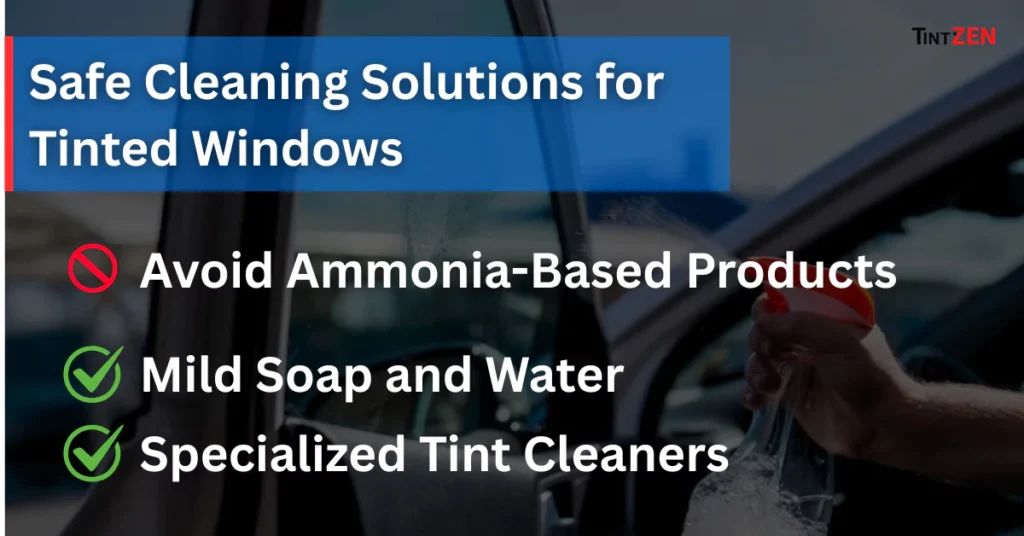
Safe Cleaning Solutions for Tinted Windows
Maintaining the clarity and longevity of your tinted windows requires careful selection of cleaning products and techniques. Here’s how to keep them in pristine condition:
Avoid Ammonia-Based Products
Standard glass cleaners often contain ammonia, which can cause damage to the tint film, leading to discoloration or peeling. Always choose cleaning solutions labeled as ammonia-free to protect your window tint.

Recommended Cleaning Solutions
- Mild Soap and Water: A mixture of gentle, dye-free soap and water effectively cleans without harming the tint.
- Specialized Tint Cleaners: Products specifically designed for tinted windows, such as Stoner Invisible Glass and GYEON Q2M Glass Cleaner, are formulated without harsh chemicals, ensuring safe and effective cleaning.
Effective Cleaning Tools
- Microfiber Cloths: These soft, non-abrasive cloths prevent scratches and are ideal for wiping down tinted surfaces.
- Soft Rubber Squeegees: Useful for drying without leaving streaks or causing damage.
Cleaning Technique
- Prepare the Solution: Mix your chosen cleaning solution in a spray bottle for easy application.
- Apply to Cloth: Spray the solution onto a microfiber cloth rather than directly onto the window to control moisture and prevent seepage into the window edges.
- Gently Wipe: Using the dampened cloth, gently wipe the window in a circular motion to remove dirt and grime.
- Dry the Surface: Use a dry microfiber cloth or a soft rubber squeegee to remove any remaining moisture, ensuring a flawless finish.
Personal Tip
In my experience, regularly cleaning your tinted windows with the appropriate products not only maintains their appearance but also extends their lifespan, providing lasting clarity and protection.
By following these guidelines, you can keep your tinted windows looking their best without risking damage or scratches.
A Step-by-Step Guide to Cleaning Tinted Car Windows
Tinted windows add privacy and style to your vehicle, but they need proper maintenance to stay sparkling clean without damage. Follow this step-by-step process to clean them effectively and preserve their lifespan.
Step 1: Gather Your Tools
Before you start, make sure you have all the necessary items:
- A microfiber cloth or squeegee
- A tint-safe cleaning solution
- A spray bottle for easy application
- Distilled water to prevent mineral deposits (avoid recycled water; always use fresh water)
Step 2: Pre-Cleaning the Windows
Work in a shaded area to prevent the cleaner from evaporating too quickly, which can cause streaks. Use a dry cloth to remove dust and lint from the window surface before applying any liquid.
Step 3: Applying the Cleaning Solution
Spray a moderate amount of the cleaning solution onto the tinted windows or onto your soft cloth. Avoid over-saturating the surface, as unnecessary wetness can lead to potential damage to your window tints.
Step 4: Gentle Wiping Process
Use a soft cloth to clean the window. Wipe in horizontal movements from top to bottom or in a circular motion to avoid streaking. If using a squeegee, start at the top and move it smoothly down for a streak-free finish.
Step 5: Drying and Buffing
Immediately follow up with a dry cloth to buff the window and remove any residual cleaner. Proper drying ensures your tinted windows remain spotless without water spots or streaks.
Step 6: Inspection and Touch-ups
Step back and inspect the window for any missed spots. If needed, lightly touch-up with a cloth but avoid rubbing too hard, as excessive pressure can affect the integrity of the tint film.
By following these simple steps, your tinted windows will stay in top shape, maintaining their longevity while keeping your car looking its best.
Many people unknowingly damage their tint’s film while cleaning. Avoid these common mistakes to keep your windows looking great.
Mistakes That Can Ruin Your Tinted Windows
- Ammonia-based cleaners cause discoloration and peeling. Always choose ammonia-free products for safe cleaning.
- Excessive pressure or harsh scrubbing can scratch or even tear the tint. Instead, gently wipe using a soft cloth.
- Abrasive tools like rough brushes or sponges with hard surfaces can cause damage. Use soft-bristled brushes or microfiber cloths instead.
- Cleaning too soon after installation is risky. Allow the tint to cure properly before washing, or it may peel.
- Dirt and grime buildup on your car can potentially scratch the tint. Regular cleaning helps maintain its condition and prevents damage.
- Ignoring manufacturer’s guidelines is a big mistake. Each tint has specific care requirements, so always follow recommendations to avoid damaging your windows.
Final Thought
Keeping your tinted windows clean is simple—just use the right tools, a gentle touch, and tint-safe cleaners. Avoid harsh chemicals and rough materials to maintain clarity and extend the life of your tint. With proper care, your windows will stay spotless and streak-free for years to come.

